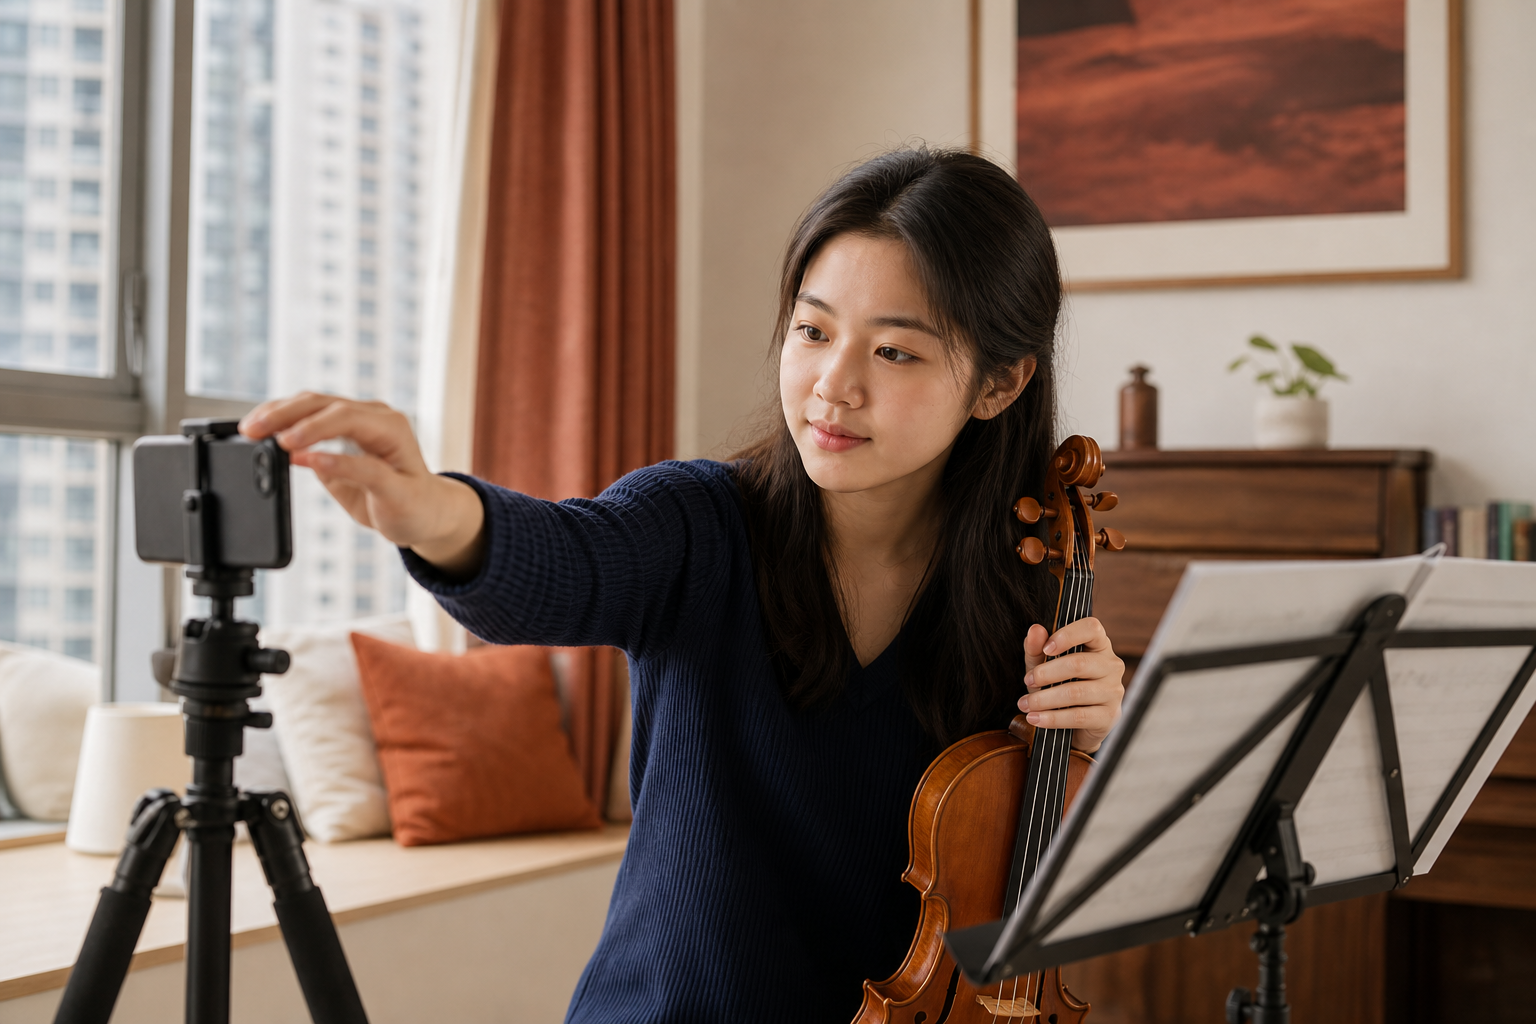
Hong Kong homes present specific challenges for exam recordings. Space is often limited, walls are close, floors are hard, and external noise is unpredictable. A recording that sounds perfectly fine in the room can sound boxy, thin, or cluttered when played back on an examiner’s device.
This guide covers the practical setup choices that make the biggest difference for exam recordings made in Hong Kong homes.
Room selection and preparation
The room matters more than the device. A good recording in a reasonable room will outrank a poor recording made on expensive equipment.
Choose a room with minimal echo. Hard surfaces such as tile floors, glass windows, and bare walls create reverb that makes the sound feel distant or unclear. The best room is usually a living area with a sofa, curtains, rug, or bookshelves, because soft surfaces absorb some of the reflected sound.
If the only available room is hard-surfaced, introduce soft materials strategically. A rug or carpet under the recording area reduces floor reflection. Heavy curtains or a blanket over a nearby chair soften the room. Opening a wardrobe full of clothes near the recording area also helps. These adjustments do not need to look polished. They need to sound better.
Close the windows and doors. Turn off air conditioning, fans, and any appliances that produce a constant hum. The microphone picks up ambient noise that the human ear filters out during live playing. What sounds like silence in the room can sound like a low drone on the recording.
Device placement
The recording device should be stable and positioned to capture a balanced sound. A phone or tablet propped on a music stand or stack of books is usually sufficient. The key is height and distance.
Place the device at approximately the same height as the instrument’s main sound projection. For piano, this means the device should be at a height roughly level with the player’s head or slightly above, positioned a short distance away to capture the full range of the instrument. For strings and wind instruments, the device should face the player at a similar height.
Distance affects both balance and room sound. Too close and the sound becomes harsh or unbalanced. Too far and the room reverb dominates. A distance of about one to two metres is a reasonable starting point. Test a short sample and listen for clarity.
Do not place the device on the same surface as the instrument if the instrument is a piano or a large resonant surface. The vibration transmits through the floor and creates a muddy low-end in the recording.
Audio checks before recording
Before recording the full programme, record a short sample of each instrument in the space. Play a few bars at performance volume and listen back on headphones. Check for:
- Clarity: can every note be heard distinctly?
- Balance: does the instrument sound natural across all registers?
- Distortion: is there any crackling or clipping at the loudest moments?
- Background noise: is there a hum, buzz, or rumble that was not noticeable in the room?
If the sample sounds boxy or roomy, adjust the device position or add more soft material to the room. If the sample sounds thin, move the device closer or adjust the angle.
Common local issues
Street noise is the most unpredictable variable in Hong Kong. A truck, construction, or neighbour activity can arrive during the best take. The practical response is to record at a quieter time of day if possible, and to leave the device running through any short noise interruption rather than stopping and restarting. Examiners are accustomed to minor external noise. A brief interruption that does not obscure the playing is usually less damaging than a visibly disrupted performance.
Small rooms with hard surfaces produce a characteristic boxy sound, especially for piano. The solution is not to move the device closer, which makes the boxiness less audible but also unbalances the tone. The better fix is to add absorption at the wall behind the instrument. A blanket, duvet, or padded panel placed behind the player reduces the reflected sound that creates the boxy quality.
Air conditioning and fan noise is another common issue. The device microphone amplifies these sounds more than expected. Record with the AC off for the duration of the take if possible. If the room becomes too warm, record earlier in the day or open a window between takes, closing it again before recording.
What the examiner hears
Examiners are trained to assess musical performance, not production quality. A modest recording with clear audio and natural sound will not lose marks for production. The exam board guidelines state that recordings should be of sufficient quality for the examiner to assess the performance accurately. They do not require studio-grade audio.
The goal is not a polished recording. The goal is a recording where the playing can be heard clearly, the instrument sounds natural, and there are no distracting technical issues. A simple setup with a stable device, a reasonably quiet room, and a short audio check before recording is usually enough.
Summary
For most Hong Kong homes, a good exam recording depends on three things: a room with some soft surfaces, a stable device at the right height and distance, and a short audio check before the main recording. Fancy equipment is not necessary. Practical attention to the room and the setup is what makes the difference.